Dark Arts
Dark Arts
The next stage was to start putting this old girl back together.
The first thing was to understand the rules and to interpret what they meant and what was measured from where. This was actually the main challenge throughout the whole rebuild, doubt and uncertainty certainly slowed down the whole process.
Stog and Mars Bar were invaluable because I was confused a lot of the time which stalled progress. They were online help, 'what does this mean what does that mean', 'where is this measured from'.
The main datum was the outside of the transom, and the actual skin of the boat. Some measurements were +/- 15mm which isn't a lot on an old boat and others such as the deck camber were no more than 95mm.
I bought plywood from Robbins a mix of Gaboon, and Sapelee faced. The Sapelee faced is heavier than the Gaboon but looks better and its going to be used for the bulkhead, centreboard case and transom.
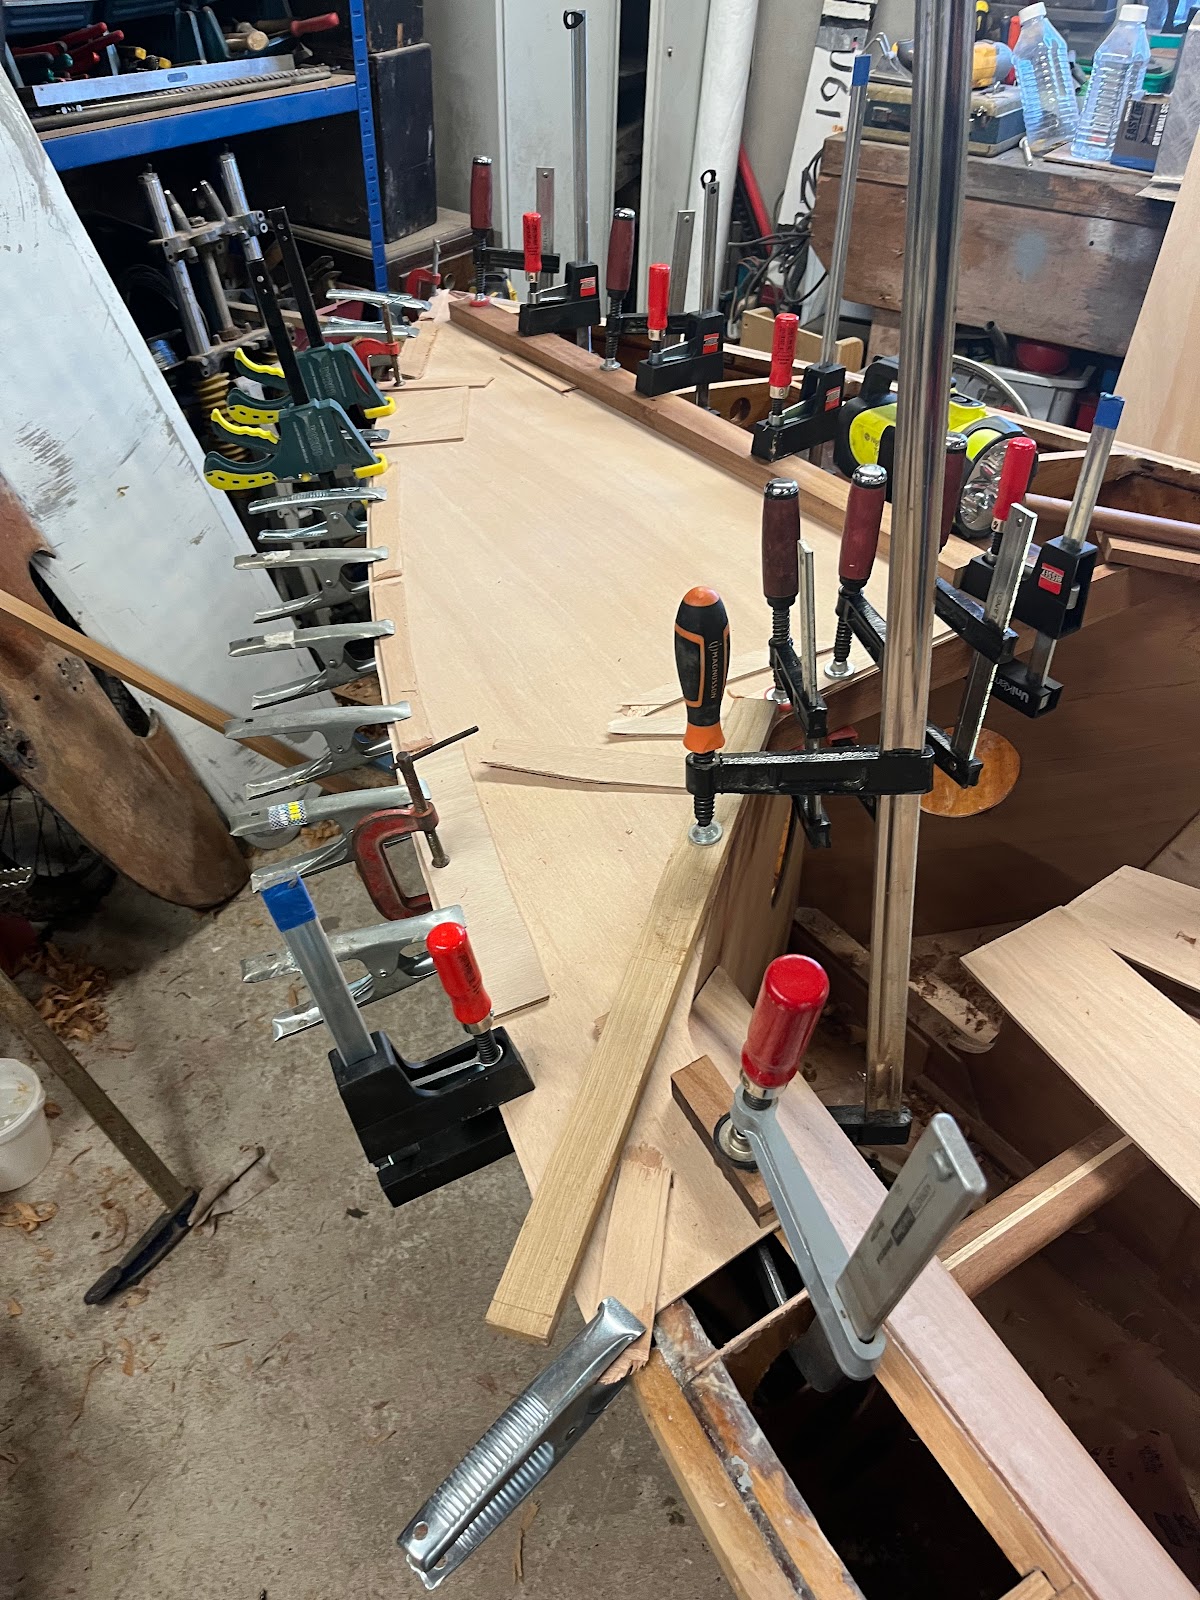
The stringers etc are all cut from one 6x2 rough sawn plank of western red cedar, which was a joy to machine and is strong and light.
I was able to use 3 sources of boats being renovated to help.
Tony Thresher
Gosling Boats
Neil Marsden- Mars Bar and Adrian Stoggal.
The Transom
After the repairs to the skin veneers, it was time to make a new transom. I used 2x6mm sheets of sapelee marine plywood, its a bit heavier than the gaboon, but much prettier and stronger.
I routered a lip on the inside of the transom to make a better fit, like a biscuit barrel lid.
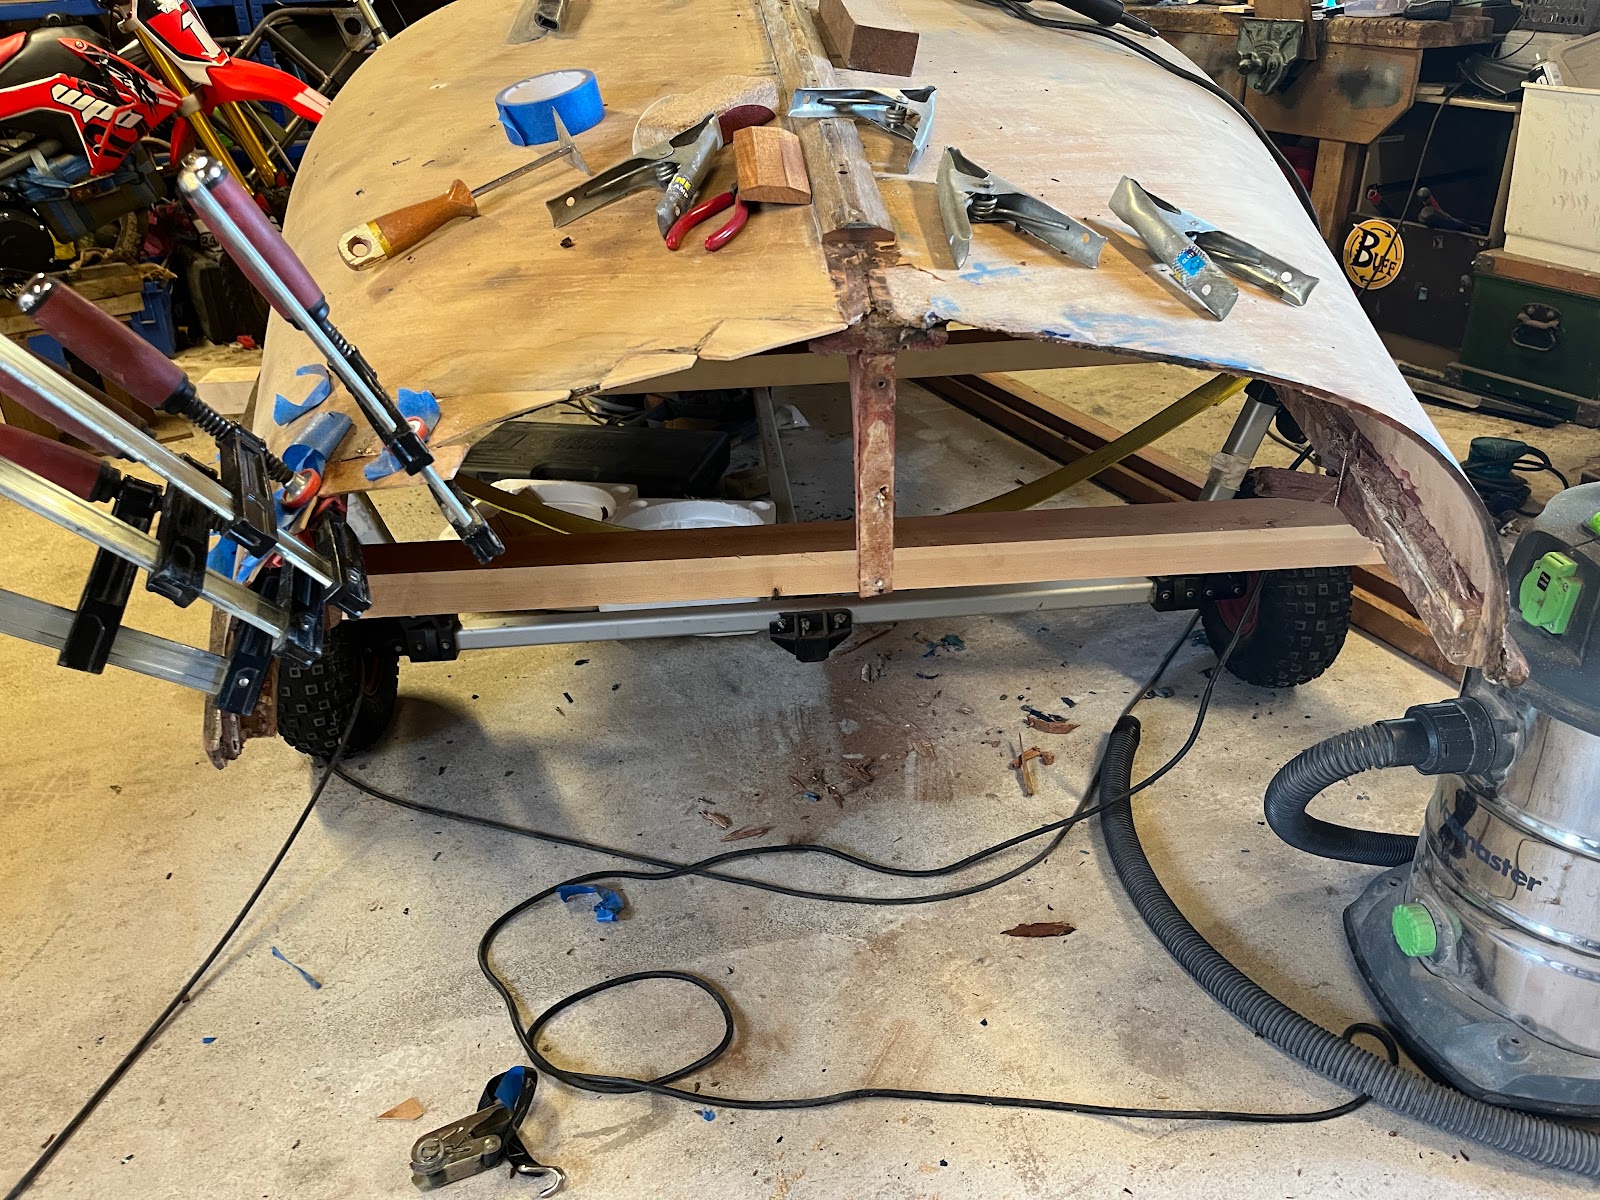
At this stage there wasn't much left of the hull, from now on lots of work or a pile of firewood!


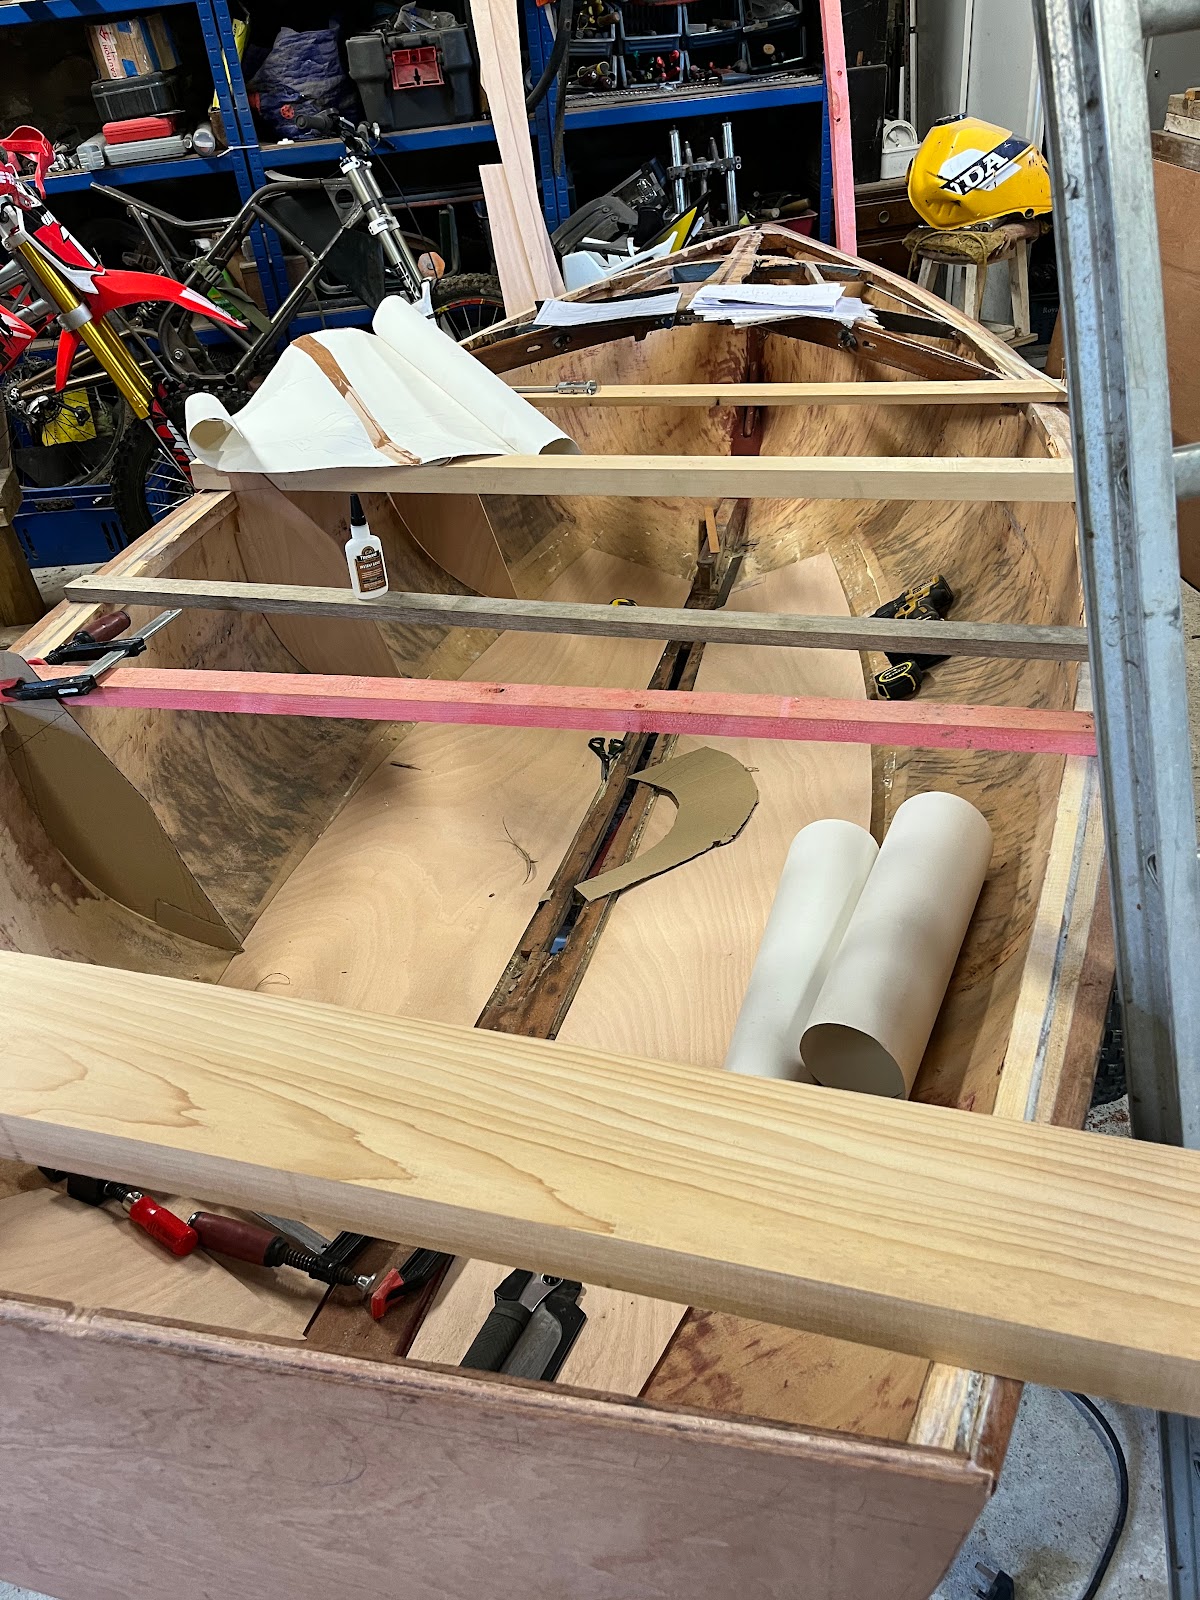
The Floors
I cut out 4mm floors using the midpoint measurements on the deck layout diagram.
I made a mistake, and instead of making templates first, I assumed that a straight line along the hog would work, but it didn't, because of the shape of the hull as it went forward from the centreboard case I had to trim about 30mm off the hog side of the floor making 30 mm short on the outside edge.
Lesson learnt - make templates first. I made 2 new floors which fitted ok and meet the midpoints of the deck layout drawings.
One big lesson......
The floor at the transom was too narrow, and after I had fitted the transom bulkhead I found that the floor was too narrow and had to add a strip on each side. I checked with Mars Bar and his was 215mm and when I checked mine it was also 215mm.

I also had to cut out the holes for the self bailers- I marked these from the underside. I used a very sharp Stanley knife, to do the cut out.
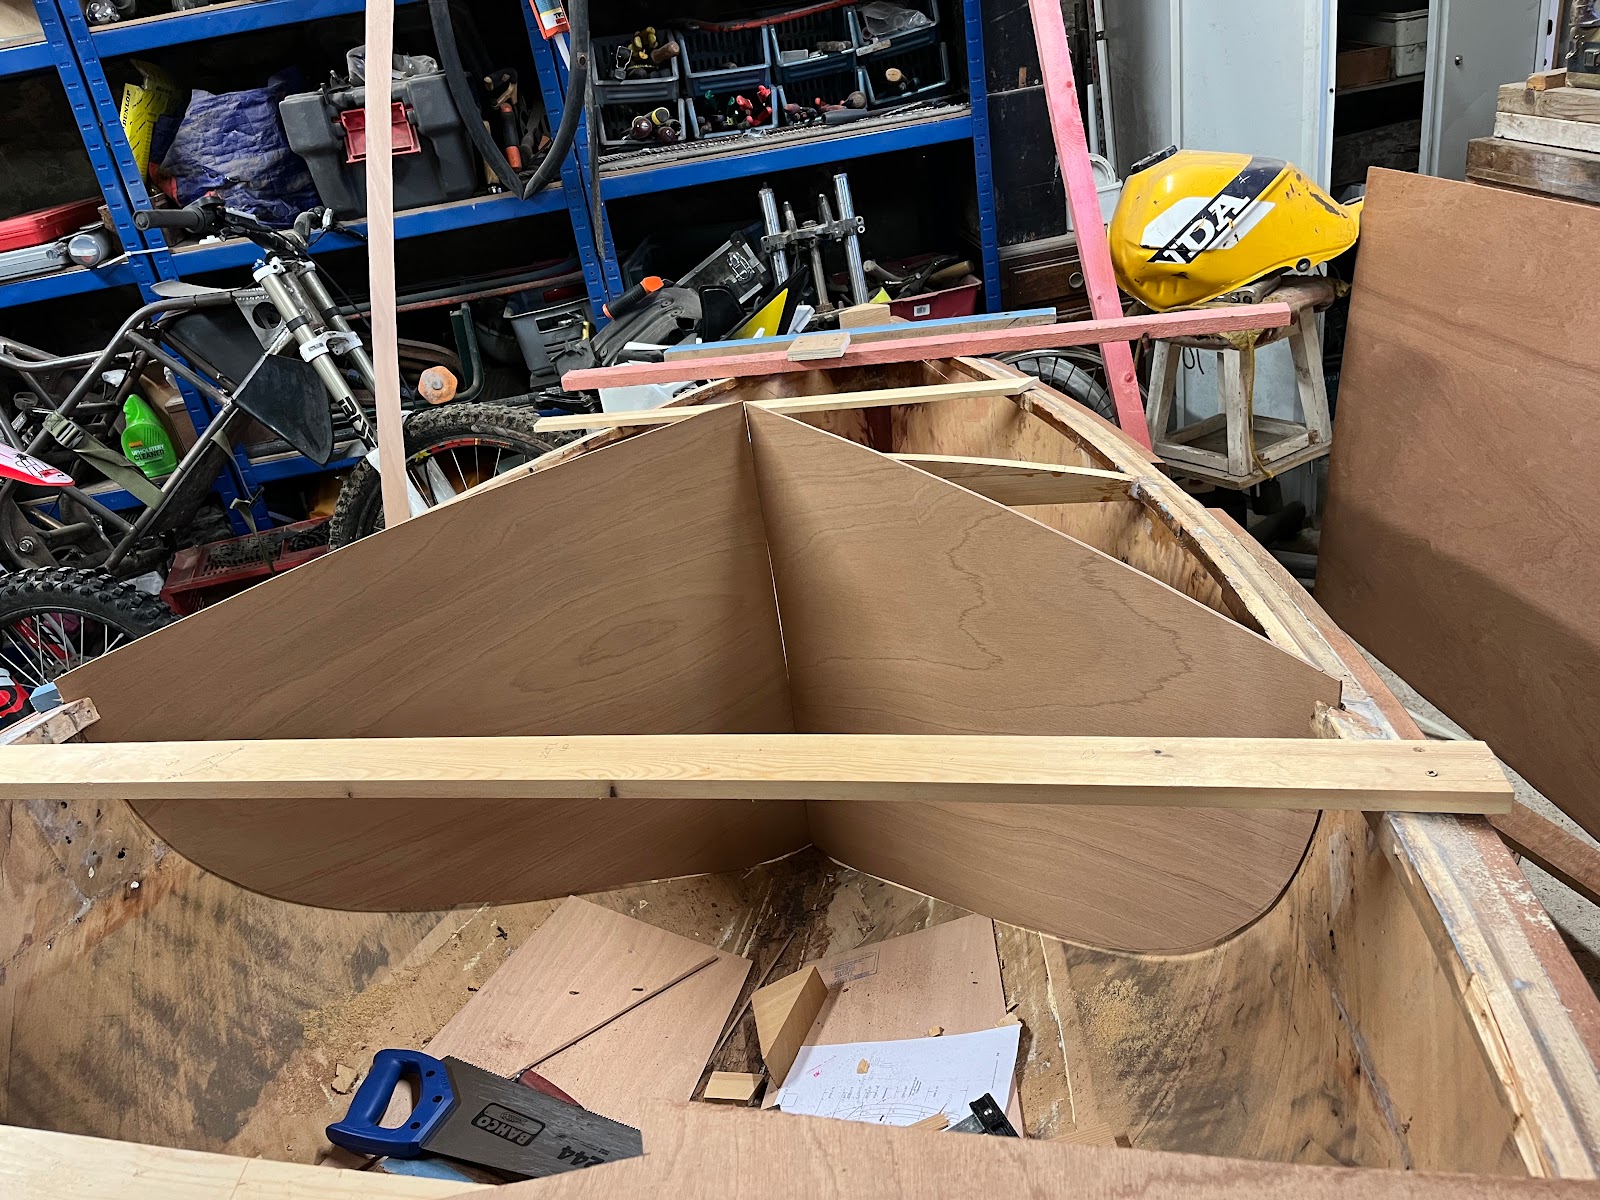
The Bow Bulkhead
I fitted the aft deck thwart, allowing for a 60mm camber measured from skin to skin, [the rules permit upto 90mm].
I had a template which Tomato Boats had produced a number of years ago, and amazingly the hull fitted the template pretty accurately. I used the bandsaw to cut out to get a smooth curve. Then angled the edge to the hull shape with a small plane.
I had to measure the distance from the transom to the aft edge of the bulkhead where is meets the outer edge of the hull skin several times to make sure it was within the tolerances.
I filleted the bulkheads in after cutting out the hatch holes.
After the fillets had cured I used fibreglass tape and epoxy to close the joint on the tank side of the bulkhead.


The bow tank bulkheads

Side Tank Bulkheads
I had a set of templates from Mars Bar, and used those to start off with. I used the hull to deck line as the datum for each one, and used the mid point deck width of 105mm.
They took a bit of scribing, using a pencil to scribe against the inside of the hull, leaving a 5mm gap between the floor and each bulkhead.
After fitting the bulkheads I machined and fitted the 2 side deck stringers which I then faired in using a small block plane.
I used cedar web stiffeners to reinforce the bulkheads, and then I filleted them in.
Side tank decking
It wasn't easy fairing the side tank plywood lower joint, trying to get a fair line to laminate to.


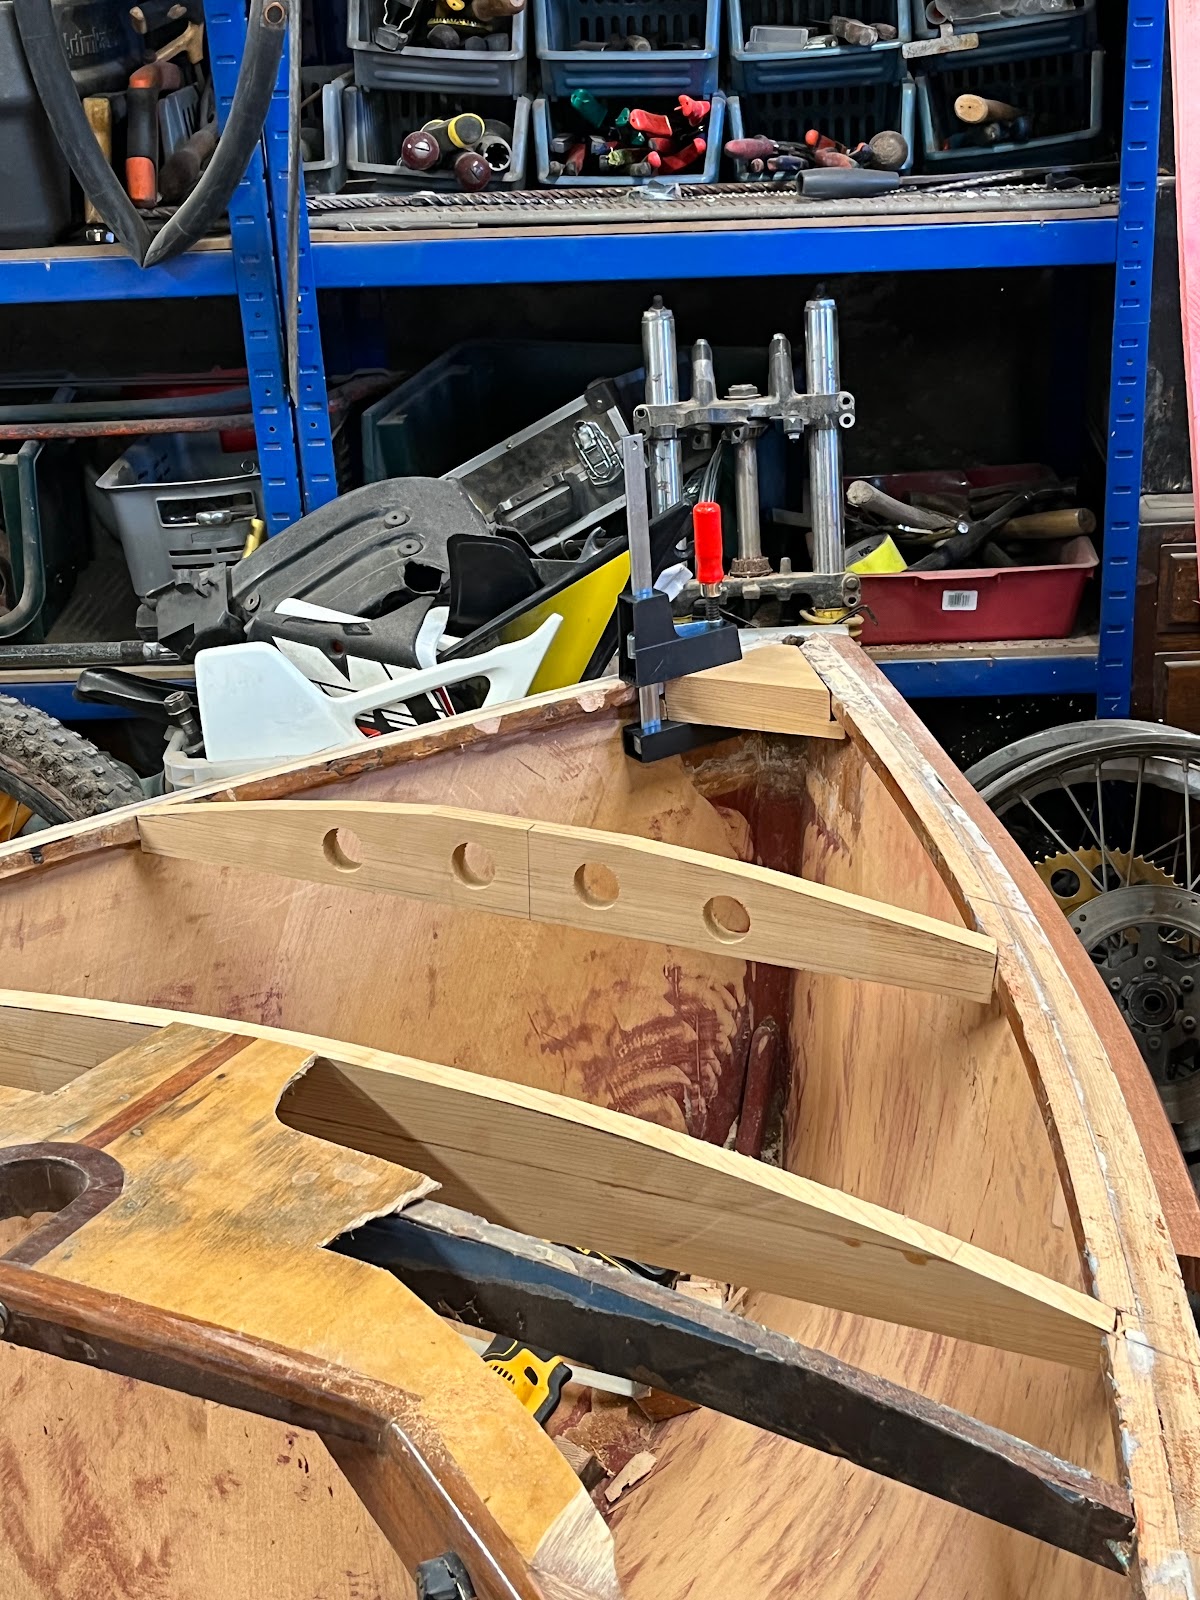
Side Deck Stringers
I notched the sidedeck bulkheads and then used cedar which went in relatively easily, I just needed to trim the ends to fit the compound angles.


I did double check the height of the centreboard case at the front end as there was some confusion about a measurement, the old case and a check on an existing wooden boat confirmed the number and the old case was correct.


Comments
Post a Comment